 DuoShell
HELP
Step-By-Step Guides
Everything you need to get from "I have a server" to "tap and I'm in". Each guide shows DuoShell on iPhone and on iPad; they work the same way on both.
01Add Your First Server
Have your server's address, its username and its password ready. A hosting company usually emails these when you create a server.
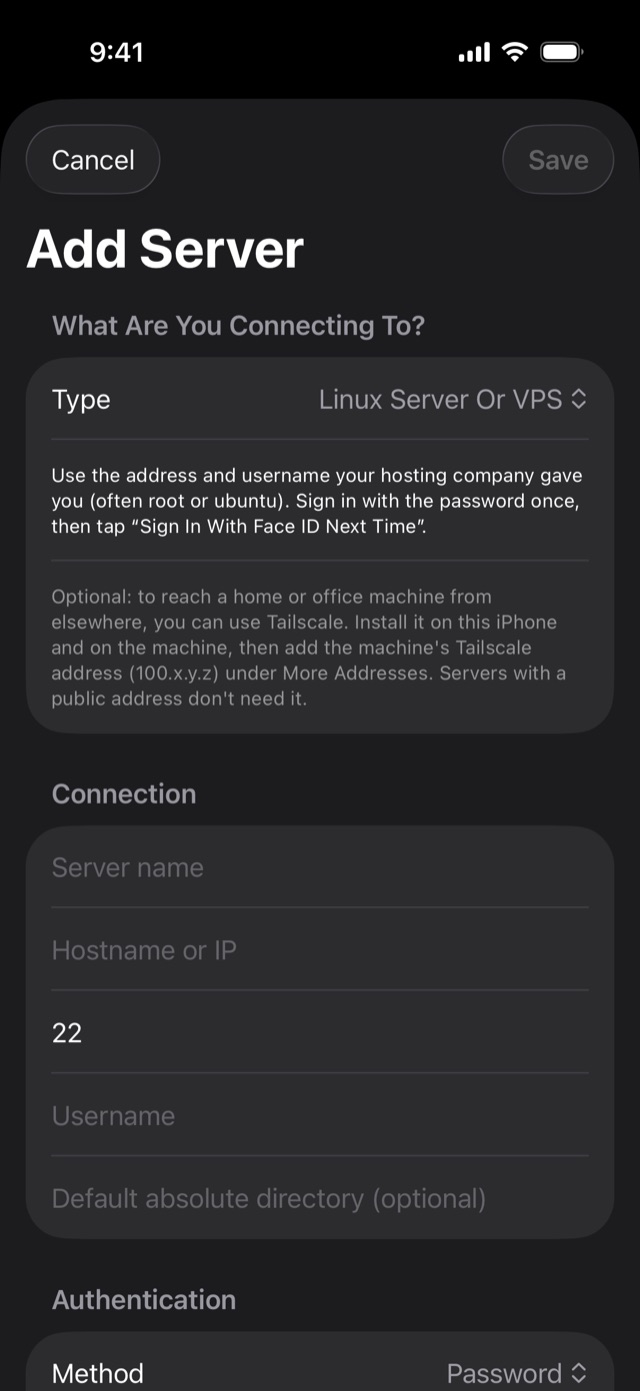
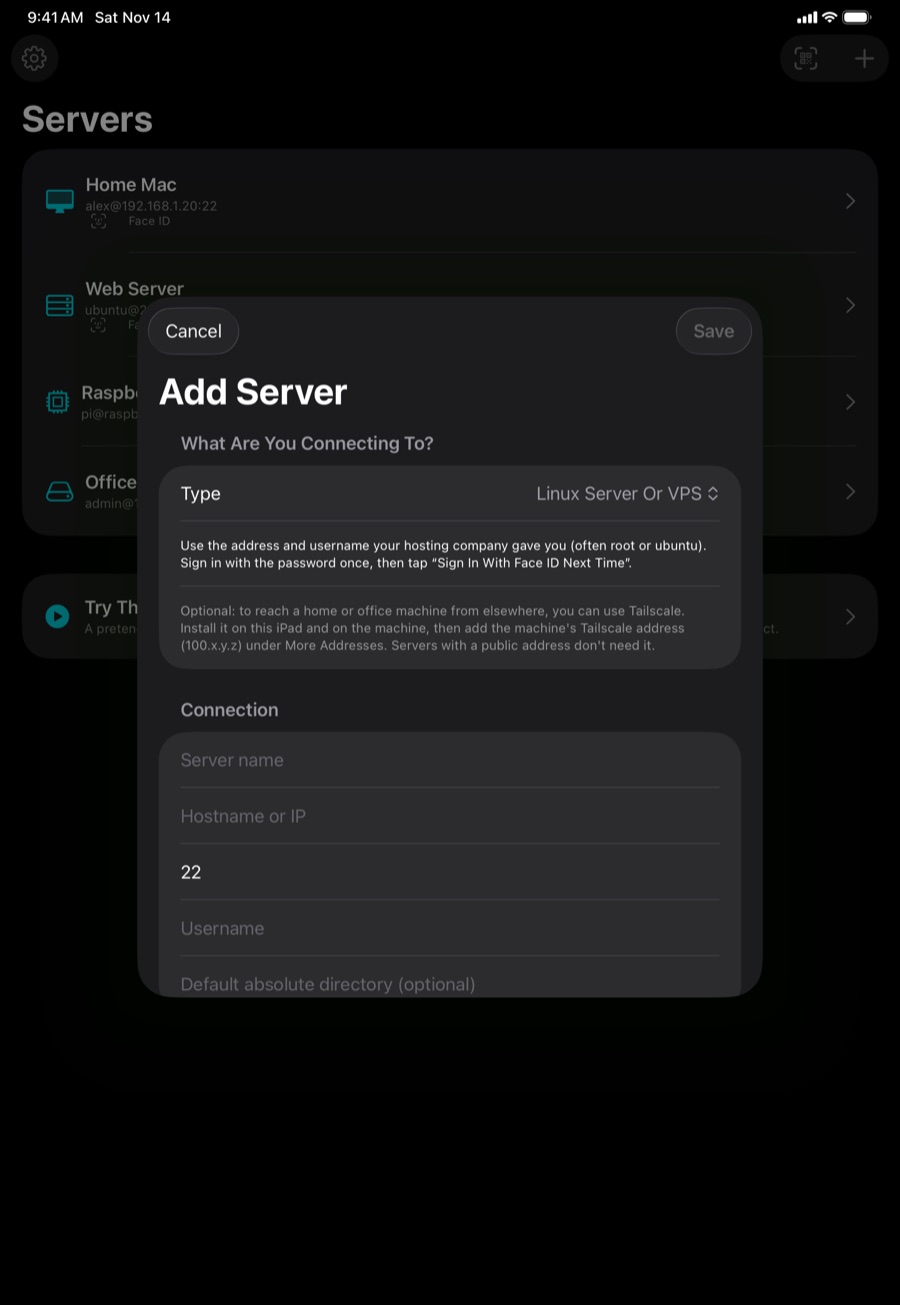
- Tap + (top right) or Add Server.
- Under What Are You Connecting To?, pick Mac, Linux server or VPS, or Raspberry Pi or home server. DuoShell shows tips for that kind of machine.
- Enter a name you'll recognize, the hostname or IP address, the port (usually 22) and the username.
- Type the password now and turn on Save Password On This Device, or leave it blank and DuoShell will ask each time.
- Tap Save, then tap the server and Connect. The first time, DuoShell shows the server's fingerprint and asks you to trust it.
.local (or its IP address) and your Mac account's short name.02Sign In With Face ID (No Mac Needed)
After you've connected once with a password, DuoShell can switch that server to Face ID.
- Connect to the server with its password.
- Tap Sign In With Face ID Next Time.
- DuoShell adds this device's key to the server, then asks for Face ID (or Touch ID) once to prove the key works on a fresh connection.
- When it says the server now signs in with Face ID, you can let DuoShell forget the saved password.
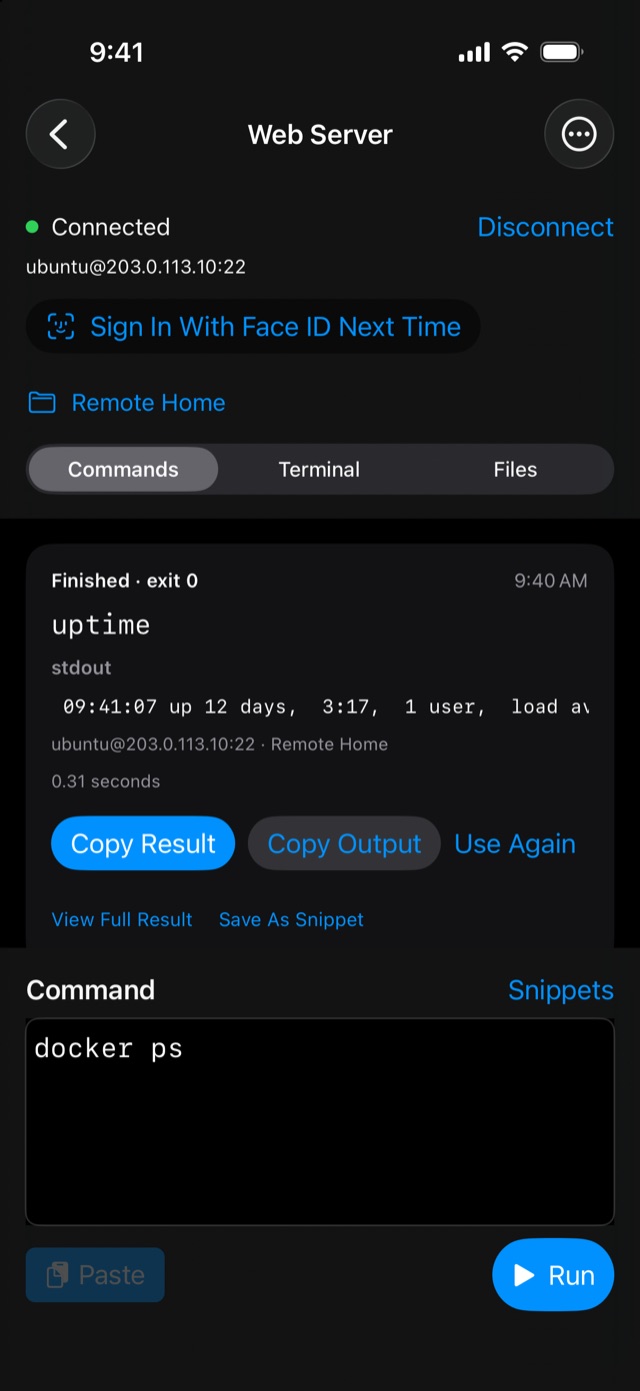
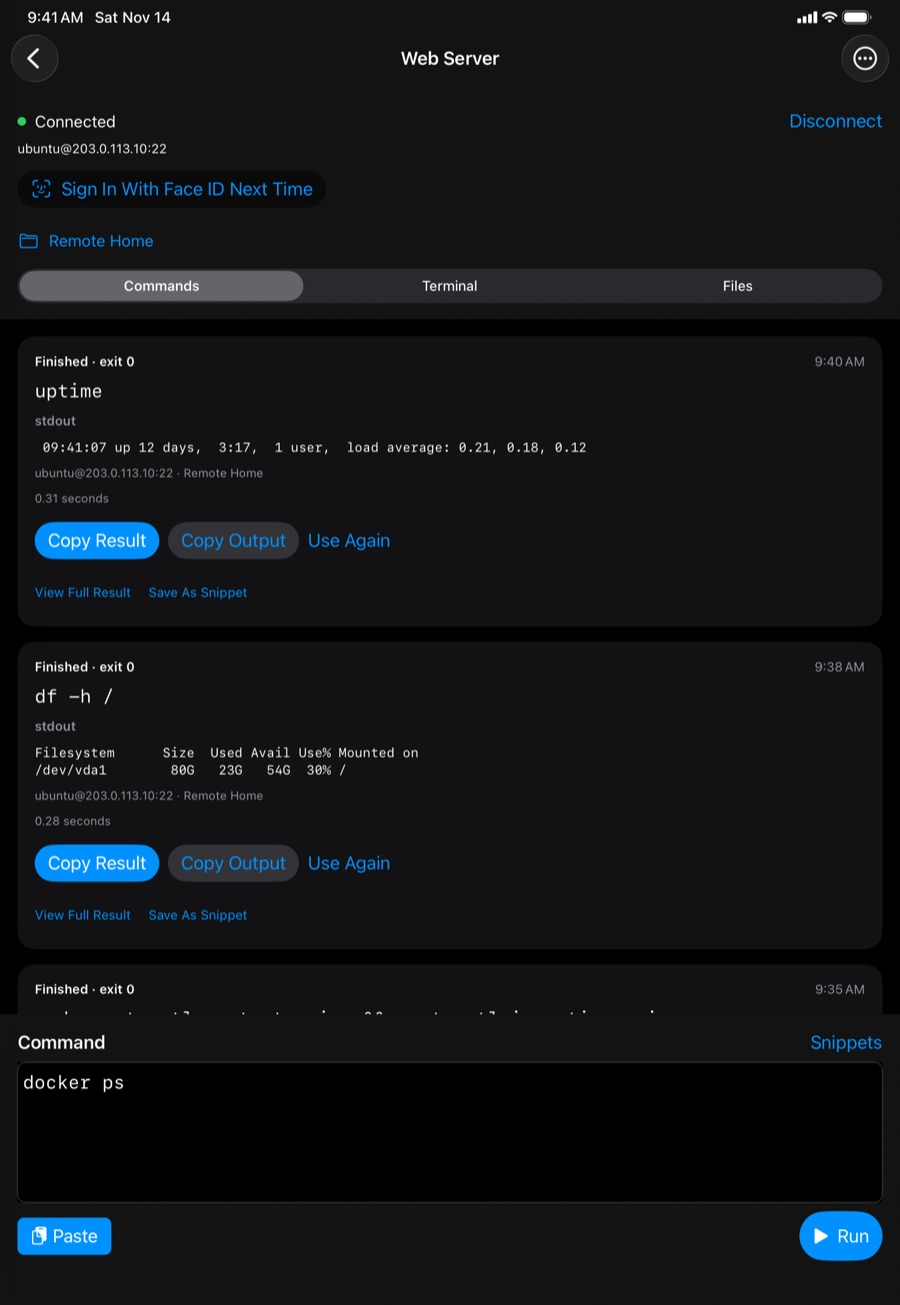
From then on, tapping the server in the list connects right away: one Face ID, no password. If anything goes wrong during setup, your password keeps working and DuoShell shows the key line so you can add it yourself.
03Pair With Your Mac
If your Mac can already reach your servers over SSH, pairing puts your phone's key on all of them at once, including servers that don't use passwords.
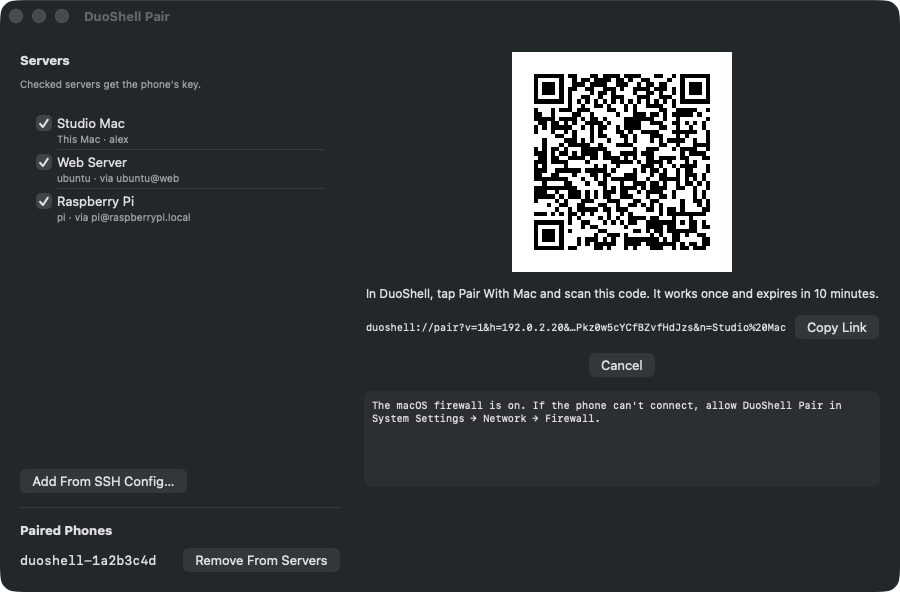
- On the Mac, open DuoShell Pair from the menu bar. Check the servers you want (use Add From SSH Config… for more).
- Click Pair A Phone. A QR code appears.
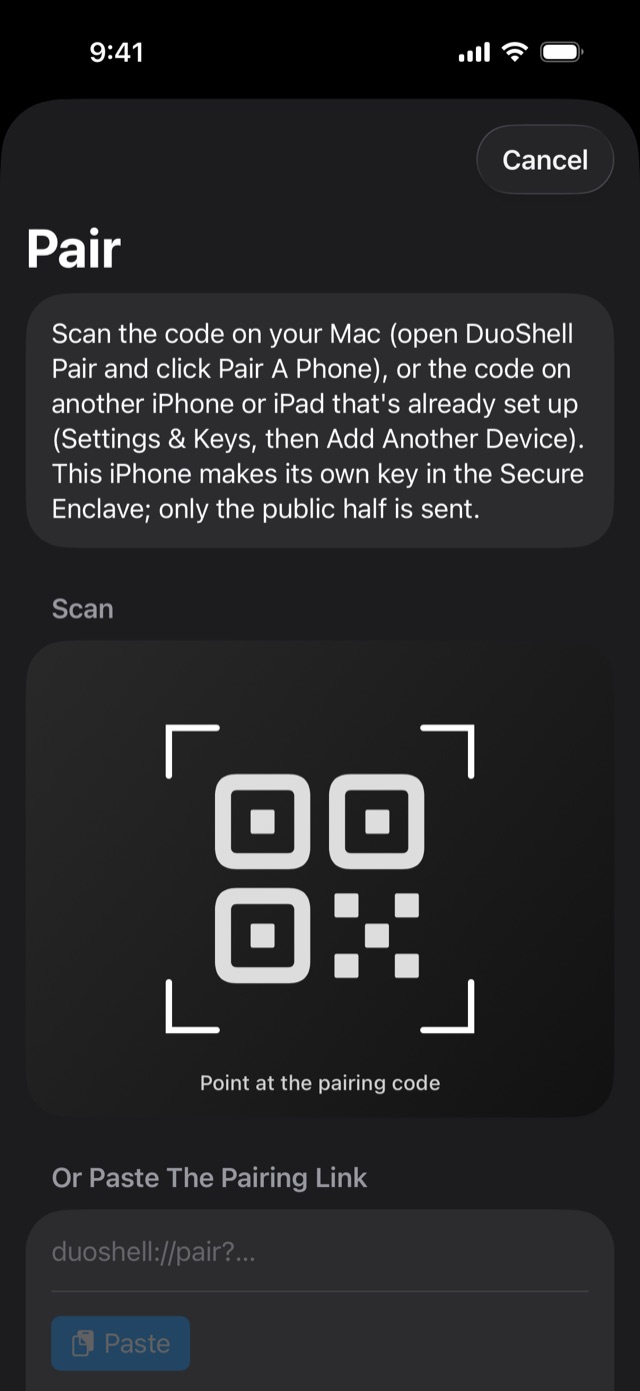
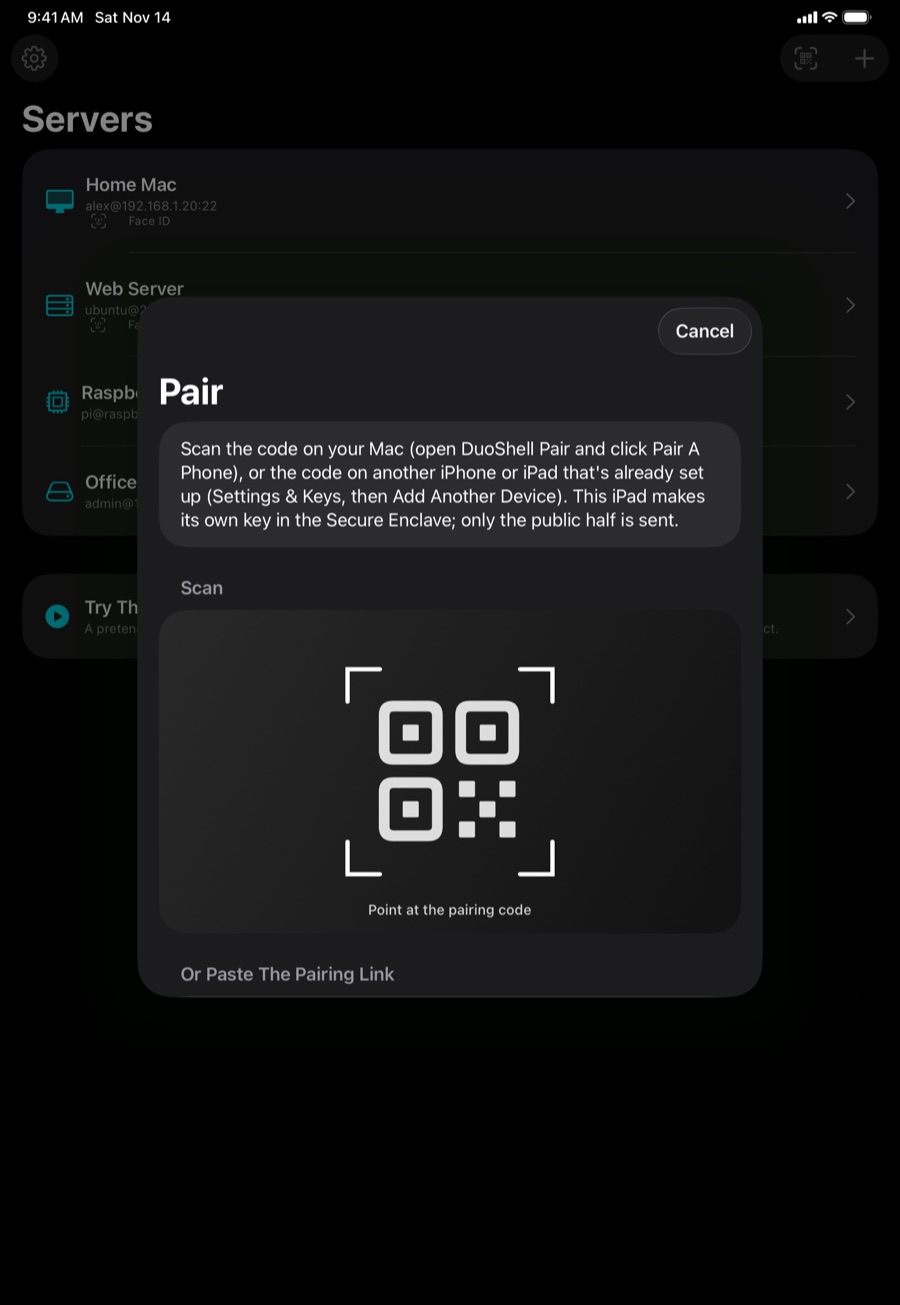
- On your iPhone or iPad, tap the QR button at the top of the server list (Pair) and scan the code. If iOS asks to find devices on your local network, tap Allow.
- Approve any 1Password prompts on the Mac. When it's done, your servers appear in DuoShell with a Face ID badge.
- The phone and the Mac must be on the same network while pairing. After that, they don't need to be.
- The code works once and expires after 10 minutes. Everything sent during pairing is signed with it, so nothing else on the network can join in.
- No camera? Click Copy Link on the Mac, send it to your phone (for example with Universal Clipboard), and paste it into Or Paste The Pairing Link.
- Already have an iPhone or iPad set up? It can set up the next one without the Mac: see Set Up Another iPhone Or iPad.
04Run Commands And Copy Results
The Commands tab is built for pasting a command, running it and copying the result.
- Tap Paste (or type, or choose from Snippets).
- Tap Run. The result appears as a card with its output, exit status and timing.
- Tap Copy Result for everything, Copy Output for just the text, or Use Again to run it once more.
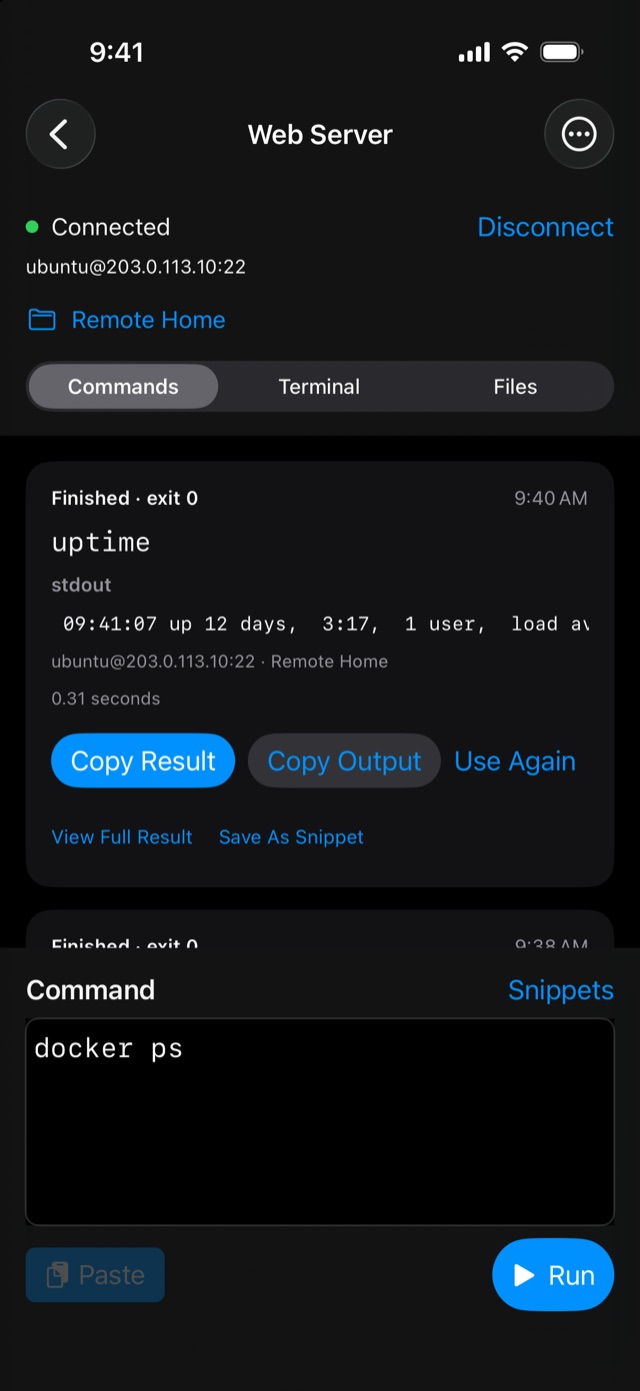
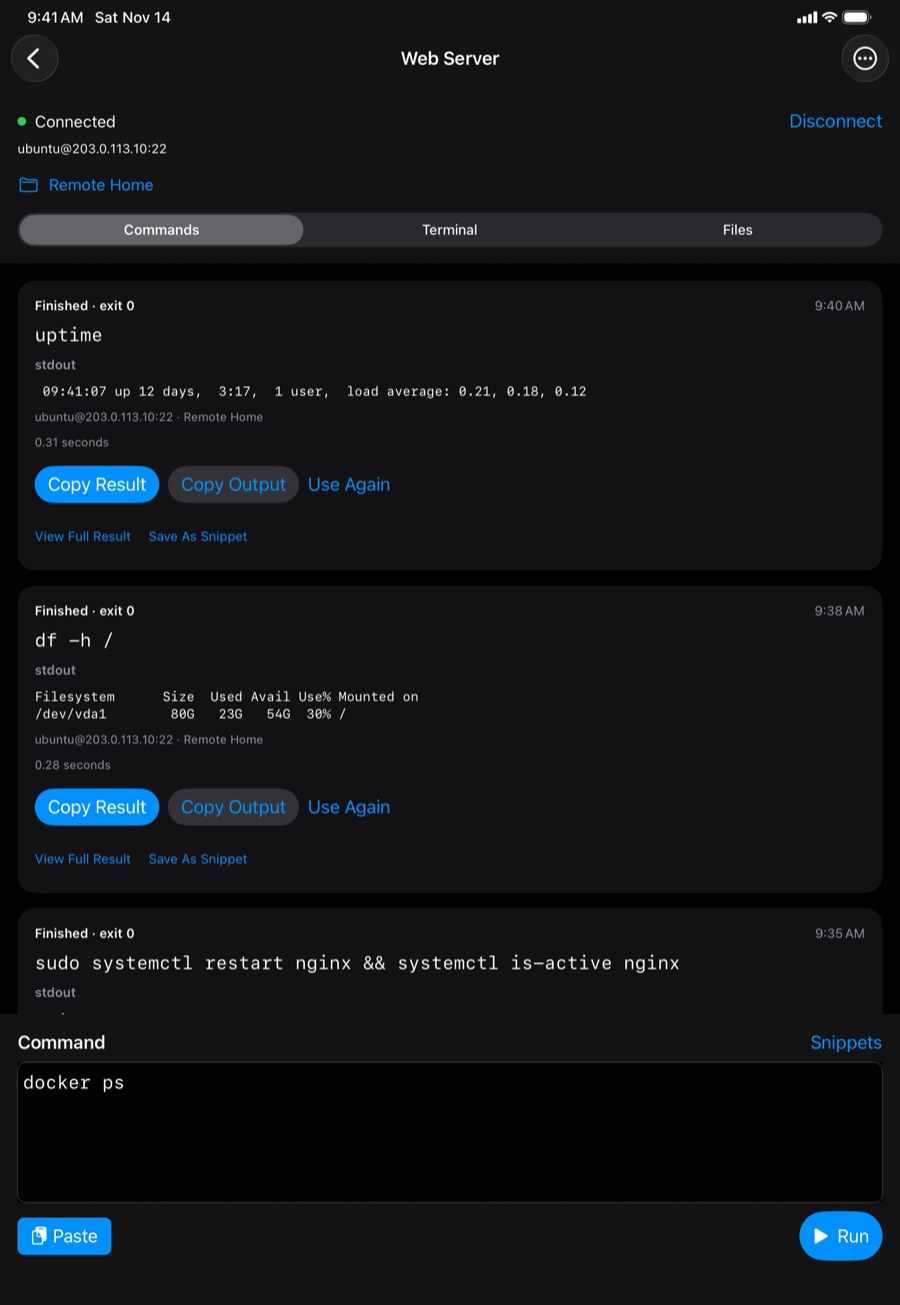
Each run starts a fresh /bin/sh without typing input, so cd in one run doesn't carry to the next; set a run directory with the folder button instead. Each server keeps its last 30 runs (up to 2 MB of output each) on this device. For interactive programs or anything that asks a question, use the Terminal.
05Use The Terminal And Keep Sessions Alive
Switch to the Terminal tab for a full interactive shell: editors, top, prompts and anything else. The snippet button next to the tabs types a saved snippet for you.
Copy and paste: touch and hold the Terminal for Copy, Paste, Select Text and Select All. Double-tap a word (or triple-tap a line) to select it. The ⋯ menu also has Paste and Select Text, which shows the Terminal's text so you can select any part of it. Pasting text with a line break into a shell asks first, because each line break can run a command.
Speak a command: tap the microphone next to the tabs and say it, for example "ls dash la slash var slash log". DuoShell writes it out as ls -la /var/log so you can check and fix it, then Run It types it and presses Return (Type It leaves Return to you). Say "dash", "slash", "dot", "pipe", "tilde" and "star" for those symbols. Speech is recognized on your device; audio isn't saved or sent anywhere.
To keep your work safe from dropped connections, open the server's ⋯ menu → Edit Server → Advanced and turn on Keep My Terminal Session Alive (tmux). DuoShell then joins the same tmux session every time, so after a reconnect you're right where you left off. It needs tmux on the server (brew install tmux on a Mac, sudo apt install tmux on Ubuntu); without it you get a normal shell and a short note.
06Browse, Share And Upload Files
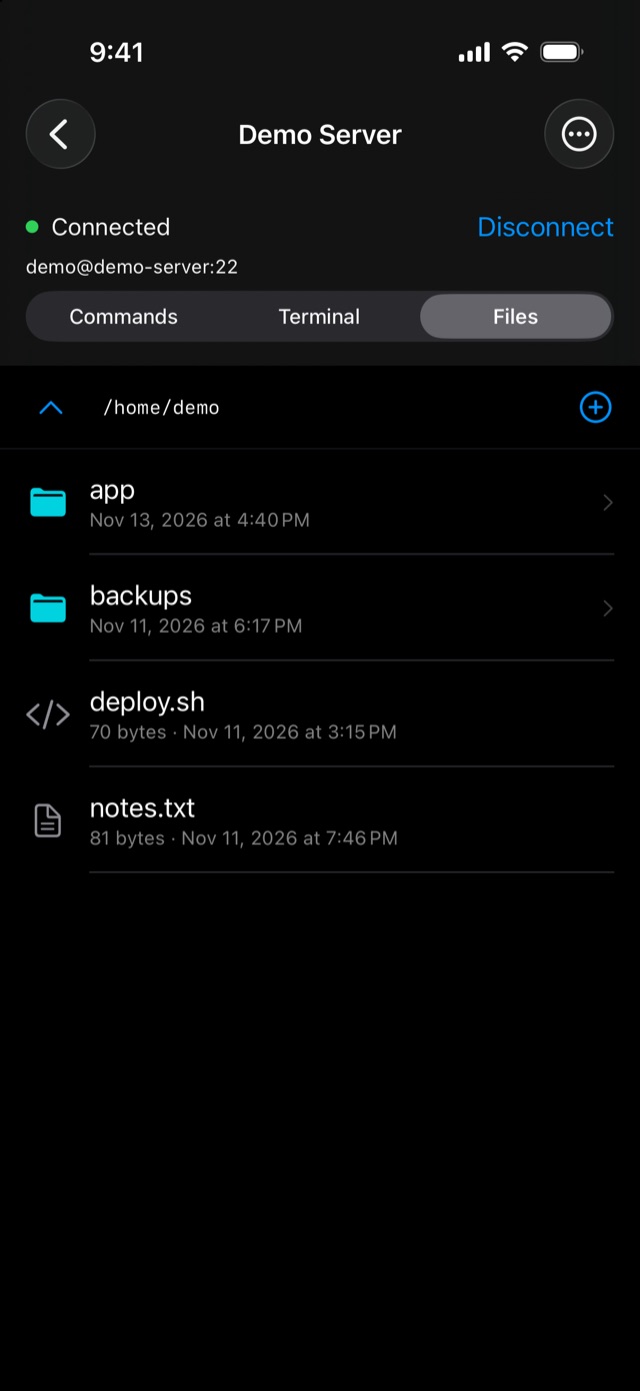
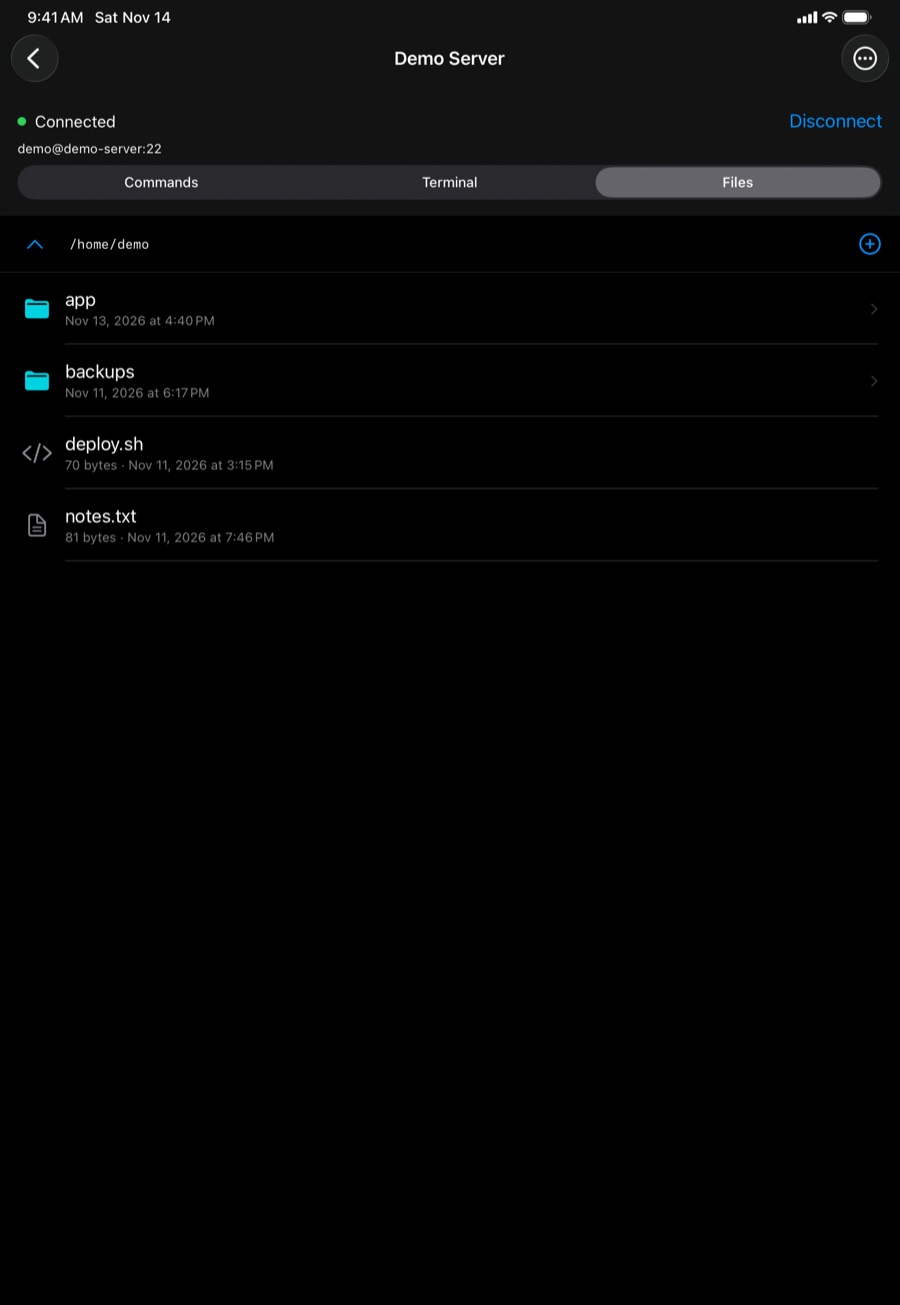
The Files tab shows the server's files over SFTP, starting in your home folder. It uses the connection you already have, so there's nothing else to set up.
- Open a file: tap it to download and preview it. Touch and hold it for Share, to save it to the Files app or send it on.
- Upload: tap + → Upload and pick files from the Files app. They go into the folder you're looking at.
- Organize: + → New Folder, or swipe a file left to Rename or Delete. A folder must be empty before you delete it.
- Big transfers show their progress, and Cancel stops them. Replacing a file is safe: the old one stays until the new one is complete. The exceptions are links and folders that don't allow new files, which are written in place.
Files follows the Terminal. If you switch users in the Terminal (for example sudo -i to work as root, or su), the next time you open the Files tab it offers to browse as that user too (it asks once per connection), starting in their home folder. If sudo needs your password, Files asks for it once; it's kept only until you disconnect and never saved. The user you're browsing as shows next to the folder path, and + → Browse As goes back to yourself.
If the Files tab says the server doesn't offer file transfer, ask its owner to enable the SFTP subsystem in sshd (it's on by default on Macs and most Linux servers).
07Save Commands You Use Often
Snippets are commands you run over and over, saved under a name. They sync between your devices.
- Save one you just ran: tap Save As Snippet under its result, or choose Snippets → Save Command As Snippet above the command box.
- Make one from scratch: Settings → Snippets → New Snippet.
- Use one: in Commands, pick it from Snippets to fill the command box, then tap Run. In Terminal, tap the snippet button and DuoShell types it for you, pressing Return if the snippet is set to.
- Edit, reorder or delete: Settings → Snippets. Tap one to edit it, or tap Edit to reorder and delete.
08Use The Laptop Keyboard
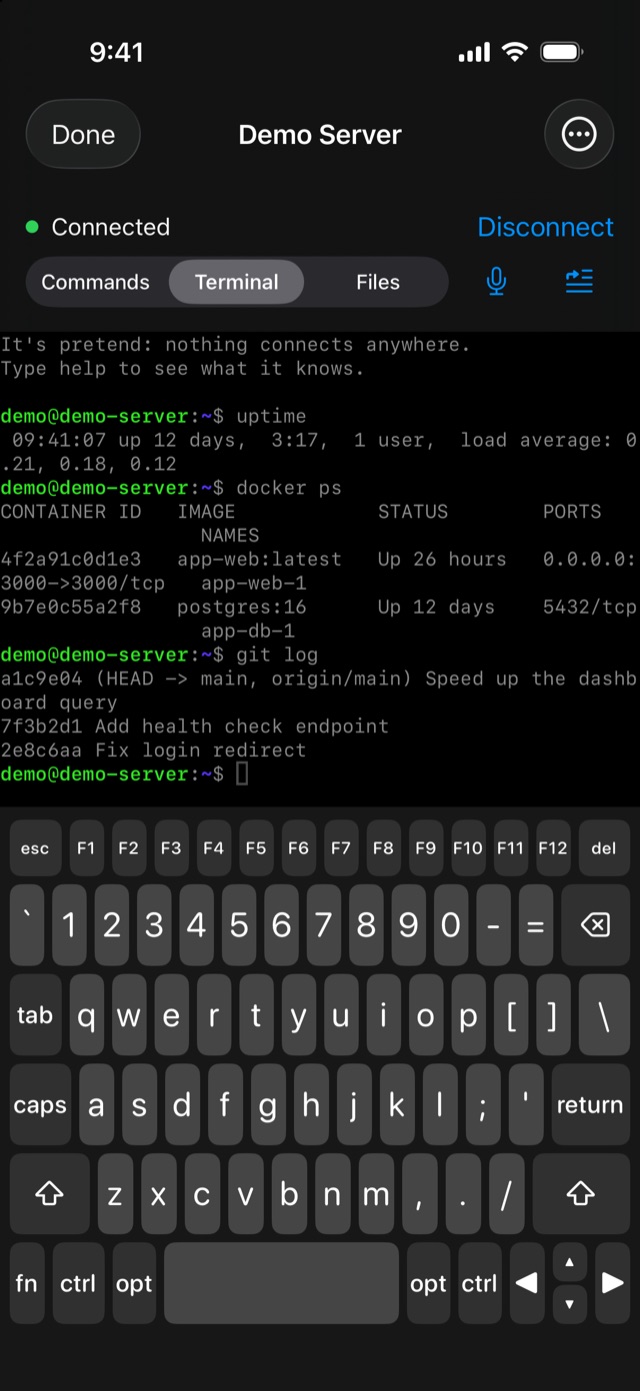
The Laptop Keyboard turns the Terminal's bottom half into a full keyboard with Esc, Control, Option, Tab, arrow keys and F-keys. Open the server's ⋯ menu → Laptop Keyboard (or Settings) and choose On; choose Off to go back to the regular keyboard.
Tap Control or Option once for the next key, or twice to lock it. Tap fn and then an arrow for Home, End, Page Up or Page Down. Hold a key to repeat it.
09Connect When You're Away
This is optional. Servers with a public address, like a VPS from a hosting company, work from anywhere with nothing extra. It's only machines at home or in an office, with addresses like 192.168.1.20 or mac.local, that you can't reach from other networks. For those, we recommend Tailscale (free for personal use): install it on the machine and on your iPhone or iPad, signed in to the same account.
- Find the machine's Tailscale address (it starts with
100.). - In DuoShell, open Edit Server → Advanced → More Addresses and add it.
DuoShell tries the main address first, then each extra address in order, and checks the server's identity on every one. When you pair with a Mac that uses Tailscale, the Mac's own Tailscale address is added for you; for other servers, add their Tailscale address yourself.
10Connect Through Another Server
Some servers can only be reached from inside a network, through a bastion (jump server), or from your home Mac. DuoShell can connect to that server first and reach the one you want from there, like ssh -J.
- Add the jump server and connect to it once, then tap Sign In With Face ID Next Time. A jump server must sign in with Face ID or a key.
- Open the server you want to reach, then ⋯ menu → Edit Server. Under Jump Server, set Connect Through to the jump server.
- Use the address the jump server knows it by (often a private address like
10.0.0.5), then tap Connect. One Face ID unlocks both keys.
Connect Through goes one hop: a jump server can't connect through another one. The jump server's own addresses (including Tailscale) are tried in order. If something goes wrong, the message says which server it was.
11When The Connection Drops
Switching from Wi-Fi to cellular, a tunnel or a long sleep can end a connection. DuoShell shows Connection Lost with a Reconnect button. One tap (and one Face ID) brings you back. It never reconnects by itself, so you won't get surprise Face ID prompts.
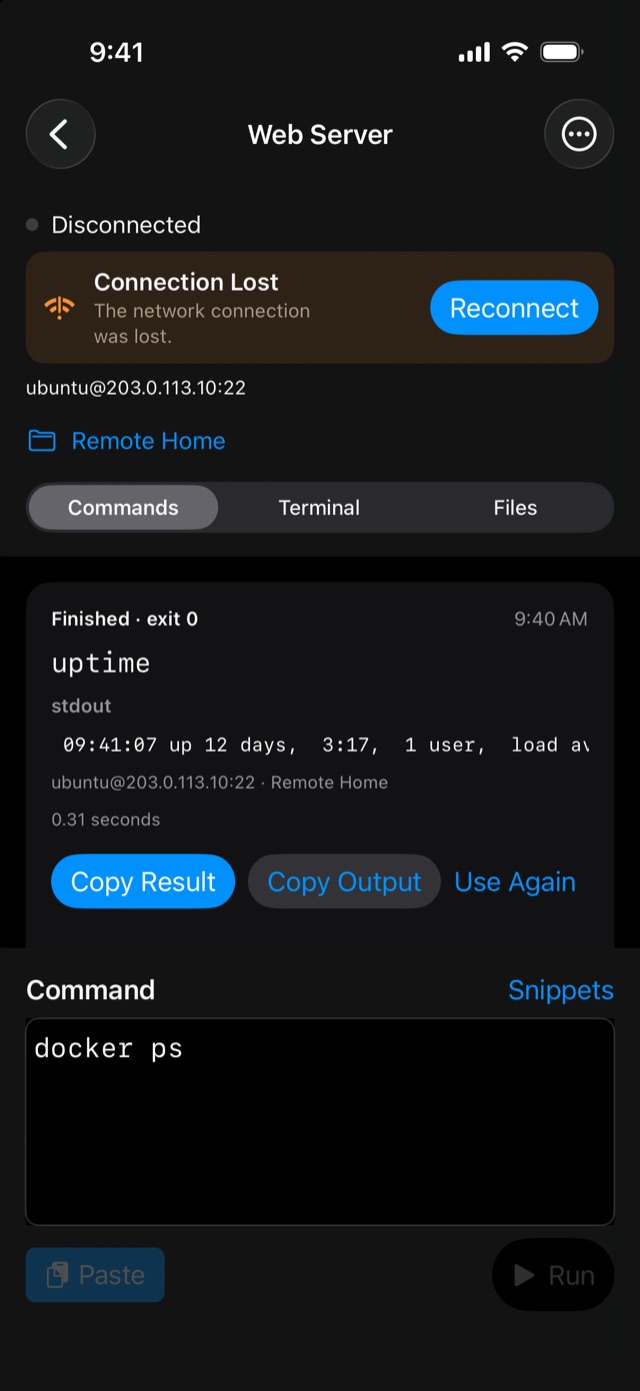
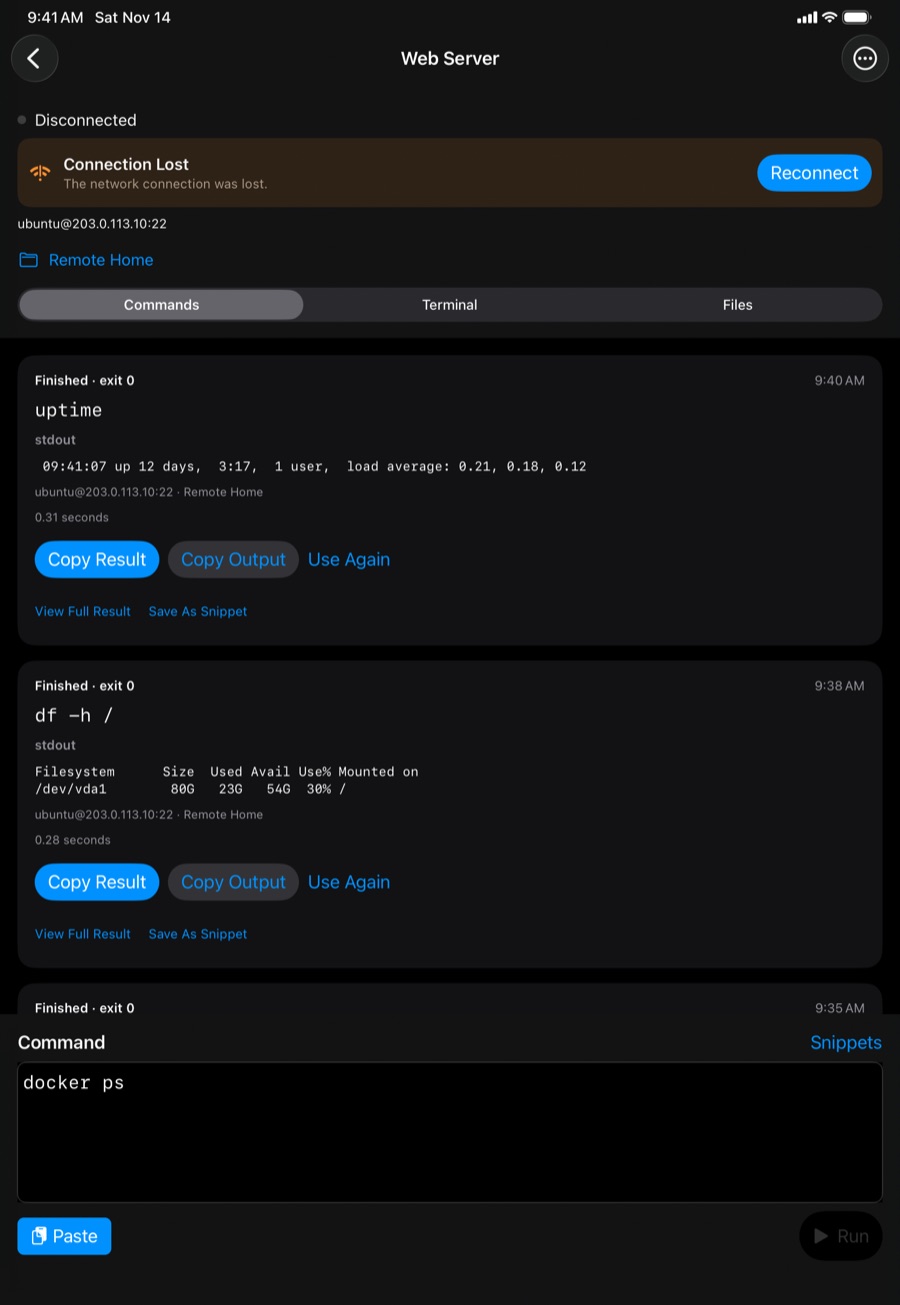
A command that was running when the connection dropped is marked outcome unknown: it may still have finished on the server. With tmux turned on, the Terminal picks up exactly where it was.
12Your Device's Key
Open Settings (the gear, top left) to see This iPhone's Key (This iPad's Key on iPad). It lives in the device's Secure Enclave, so it can't be copied off it, and Face ID (or Touch ID) or your passcode unlocks it for each connection.
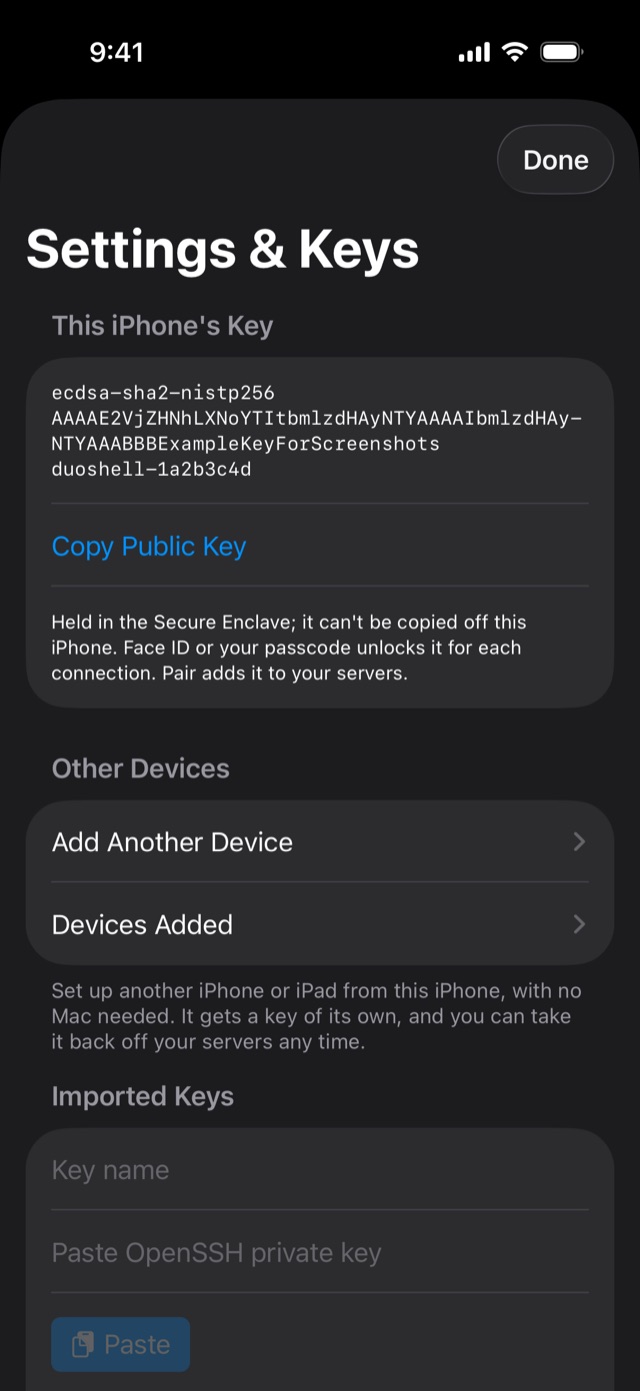
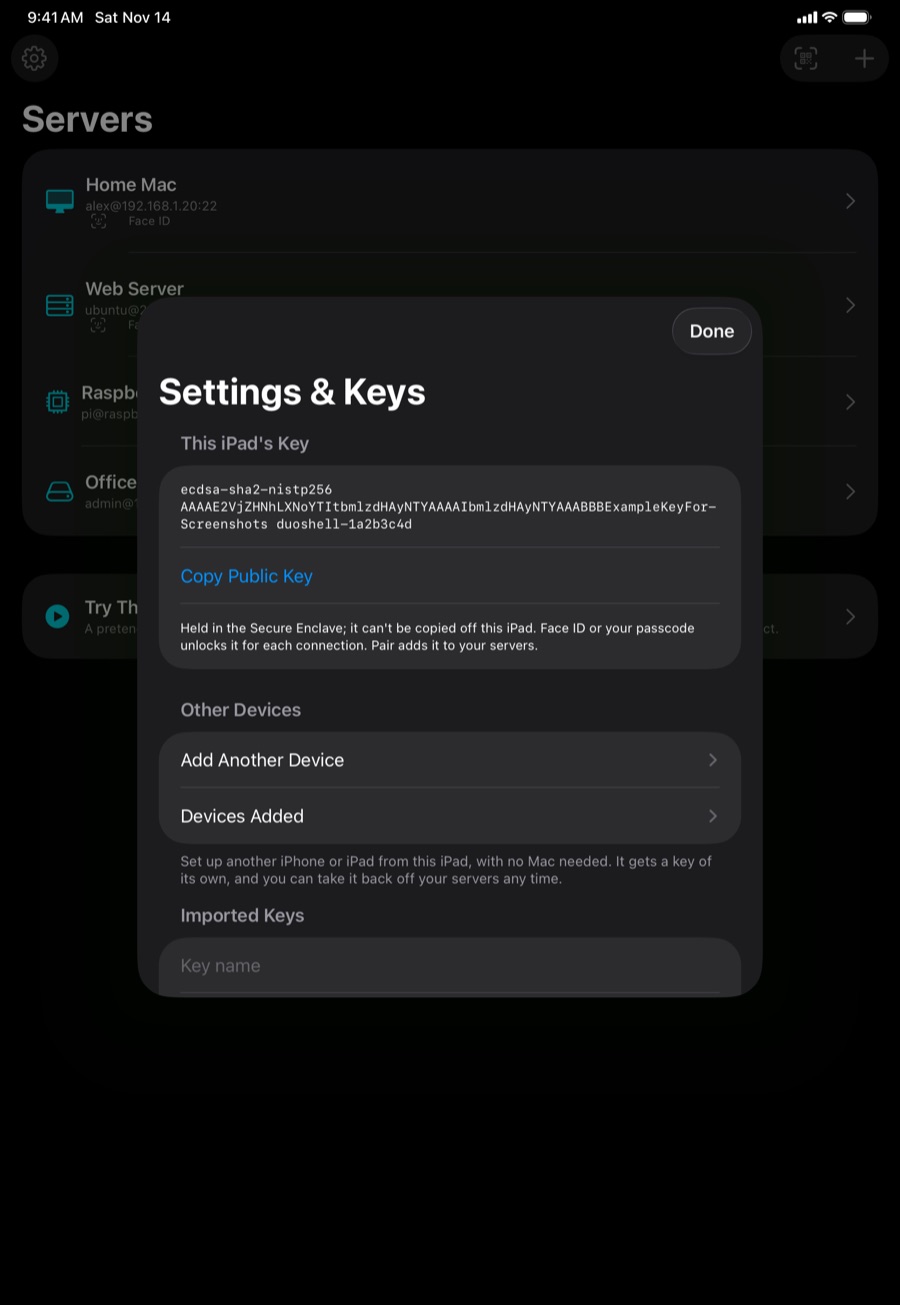
- Add it by hand: tap Copy Public Key and add that line to
~/.ssh/authorized_keyson the server. - Remove it from a server: connect, open the ⋯ menu and choose Remove This iPhone's Key From The Server. DuoShell then asks for the password next time.
- Lost your phone? On the device that set it up, open Settings → Devices Added and tap Remove From Servers. Or, in DuoShell Pair on your Mac, click Remove From Servers next to that phone. You can also delete the line ending in its
duoshell-…name from each server'sauthorized_keys.
13Set Up Another iPhone Or iPad
Your server list and snippets sync between your iPhone and iPad through iCloud. Keys and saved passwords don't: each device has its own key. A device that's already set up can put the new one's key on your servers for you, with no Mac and no passwords.
- On the device that's already set up, open Settings (the gear) → Add Another Device. Check the servers the new device should reach, then tap Show Code.
- On the new device, tap the QR button at the top of the server list (Pair) and scan the code. If iOS asks to find devices on your local network, tap Allow on both.
- Both screens show a six-digit matching code. If they're the same, tap Add With Face ID. If they aren't, tap Codes Don't Match: someone else may have scanned your code.
- The first device signs in to each server with its own key and adds the new device's key. When it's done, the new device connects with Face ID.
- Both devices must be on the same Wi-Fi while this runs, and the first one must be able to reach the servers.
- Only servers the first device signs in to with its own key can be shared. A server that connects through another one brings that one with it.
- The code works once, for one device, and closes after 10 minutes or when you leave the screen.
- Devices Added in Settings lists every device you set up this way, with Remove From Servers to take its key back off.
- No other device yet? Sign in to a server with its password once and tap Sign In With Face ID Next Time, or pair with your Mac.
14Troubleshooting Messages
| DuoShell says | What it means and what to do |
|---|---|
| Nothing is accepting SSH on host:port | The machine answered but isn't running SSH on that port. Turn on SSH (on a Mac: Remote Login) and check the port number. |
| host:port didn't answer | Nothing responded. Check the address, that you're on the right network, or that Tailscale is connected. |
| Couldn't find host | The name couldn't be looked up. Check for typos. Names ending in .local only work on the same network. |
| Can't reach host from this network | You're on a different network. Add the machine's Tailscale address under More Addresses. |
| The server didn't accept the key for user | This device's key isn't on the server (or was removed). Pair again, or connect with the password and set up Face ID again. |
| The server doesn't accept plain password sign-in… | The server has password sign-in turned off. Use Pair with your Mac or add your key by hand. |
| …only offers a sign-in method DuoShell doesn't support yet | The server requires keyboard-interactive or two-factor prompts. Use a key instead, as above. |
| …host key that doesn't match the one recorded for this server. Connection blocked. | The server's identity changed. That happens after a reinstall, but it can also mean something is wrong. Check with whoever runs the server first. If you know why, open the server's ⋯ menu → Edit Server → Forget Saved Identity, then check the new fingerprint when you connect. |
| Host key changed for host:port. Connection blocked. | The same thing for a server you trusted when you first connected: its identity is no longer the one you approved. Check with whoever runs it, then use Forget Saved Identity as above. |
| …key isn't on this device | The server was set up on another device. Choose Password in Edit Server, connect, then tap Sign In With Face ID Next Time. |
| Timed out reaching Mac (while pairing) | Put the phone on the same network as the Mac, allow DuoShell to use the local network (Settings → Privacy & Security → Local Network), and allow DuoShell Pair through the Mac's firewall. |
| The reply wasn't signed with this pairing code | The code expired or was for a different pairing. Click Pair A Phone again on the Mac and scan the new code. |
Still stuck? Email [email protected] with what you tried and the exact message.